 Once I had some spare time and thought that making a mosaic tile back splash for our bathroom would be a fun and useful way to pass the time..
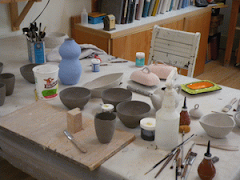
Step 1; Simply roll out some clay and start cutting, rather than drawing out the pattern you wish to see in tile on your wall.

Trim crumbly bits off.
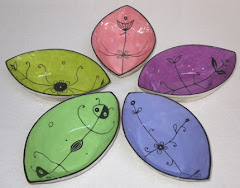
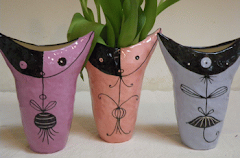
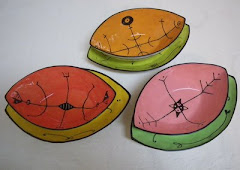
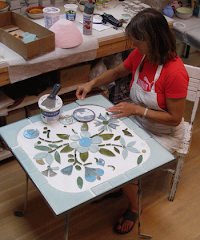
Step 2: Select colors and paint 3 layers of underglaze on each piece.
 Be careful not to mix up pieces, not to forget to do 3 layers on each piece and to be sure that it is the same 3 colors on each piece;

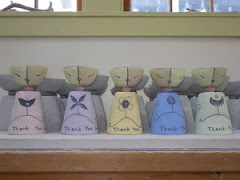
step 4; Transfer all those pieces to the kiln and do a bisque firing.

Step 5; Remove from kiln and put 3 coats of gloss glaze on each tiles. The concerns are the same as in step 2, also be careful not to get gloss glaze on the backs of the tiles. They may stick to the kiln shelf if you do.

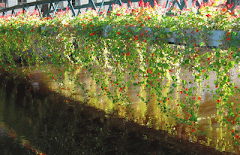
Step 6; Transfer mosaic tiles to installation location and glue in place.
Step 7; Grout mosaic.
 Now wasn't that easy!


.gif)
.jpg)


detail.gif)


12 comments:
boootiful! can't wait to see them properly!
Okey dokey, post this tutorial on whipup.net...I'll submit it now!
Wow, that's gorgeous!
No, that doesn't look easy. But it does look fantastic!
That is beautiful!
Wow ... absolutely gorgeous ... and how wonderful to have your beautiful work of art on your walls.
Beautiful!
How do you transfer all the little bits to the kiln without mixing them all up?
this is really extraordinary - so beautiful!
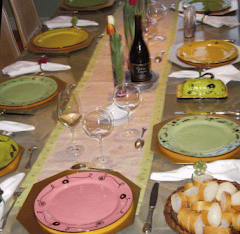
i also love the table you are working on from your sidebar but find no blog entry describing your process with it. is there more info/photos someplace? i'd love to learn more about that project too!
This is so, so fantastic. I'm adding it to my "Dream House" folder and hope to do this one day. Thank you so much for documenting this!
Nice!!
I Like.
Erik @P65
I really love your mosaic projekt, it is so beautiful!
Post a Comment